
I mean, it helped that I knew the designer, LOL.
IIRC, there is one single bodge wire in there from where I did compromise the matrix, but I cannot stress how simplistic this PCB design was. It is holes for switches, holes for diodes, holes to string it over to the microcontroller dev board, and traces connecting them all. My second one is slightly more ambitious, allowing a couple of layout choices, Alps or MX, and has a designated spot to solder a specific MCU. That one requires two bodge wires because I screwed up the traces a little. If I do a third, I will know to make sure every trace is assigned to a “subnet” before I tell KiCAD to clean things up.


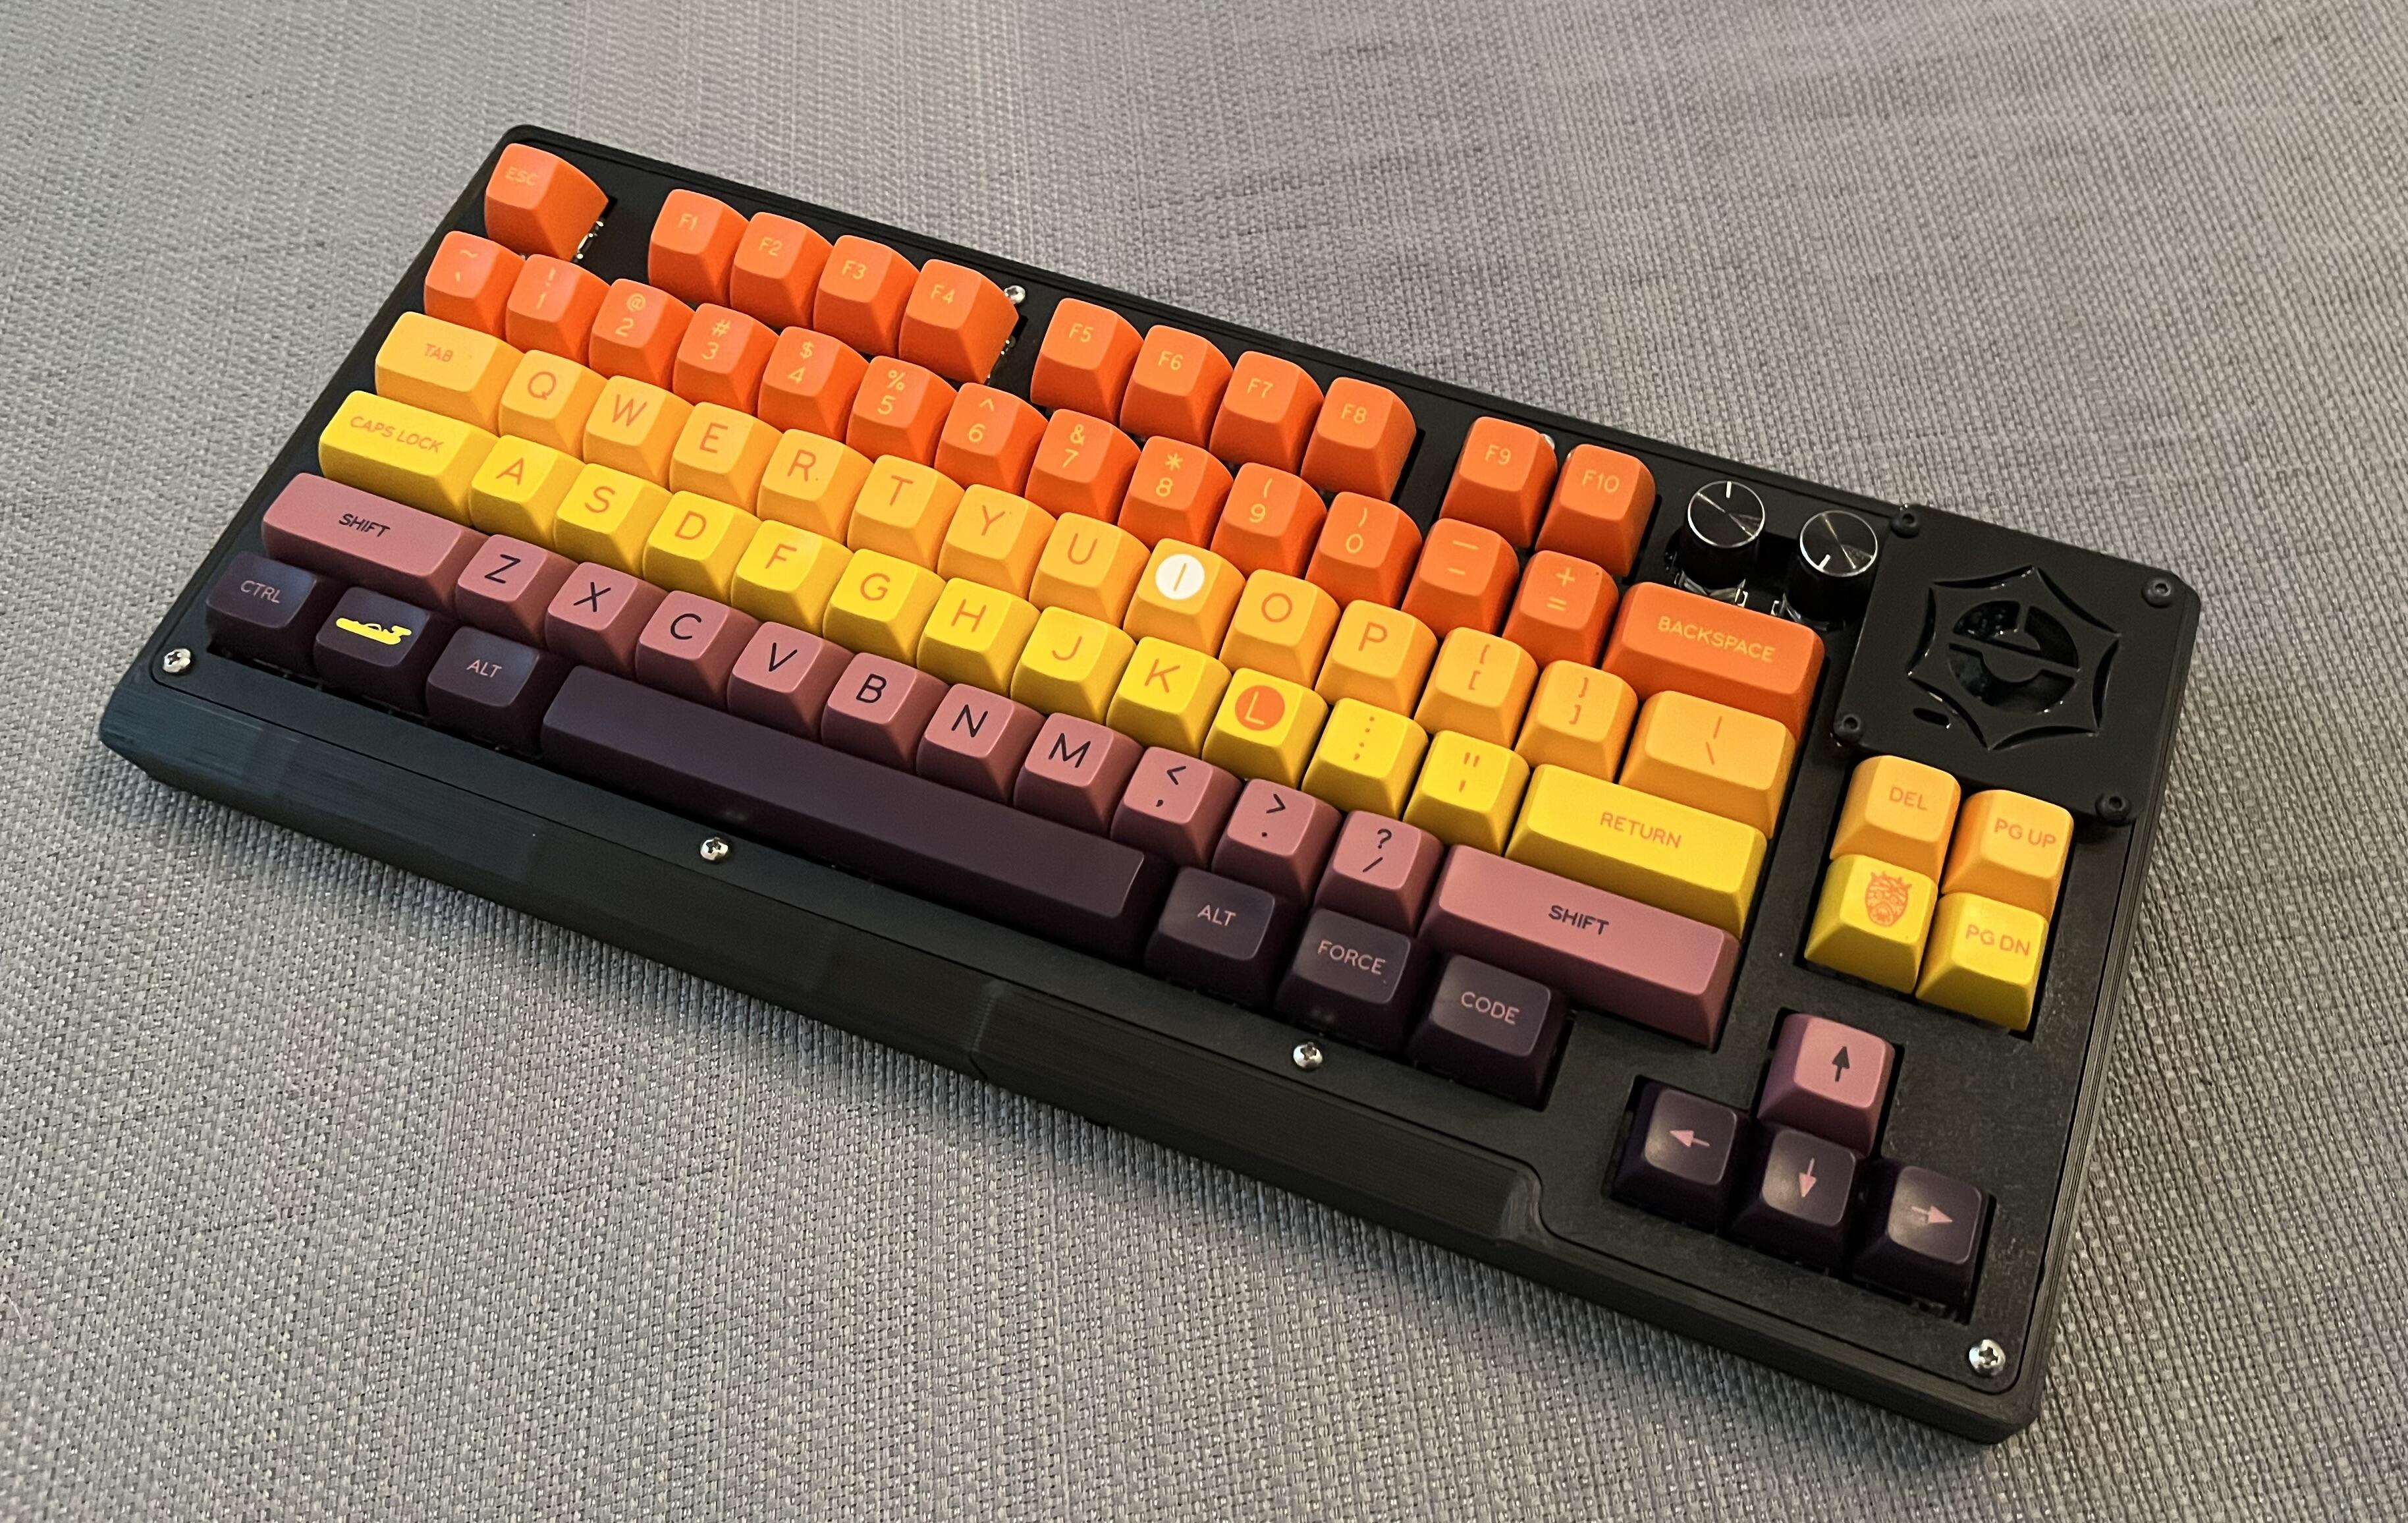
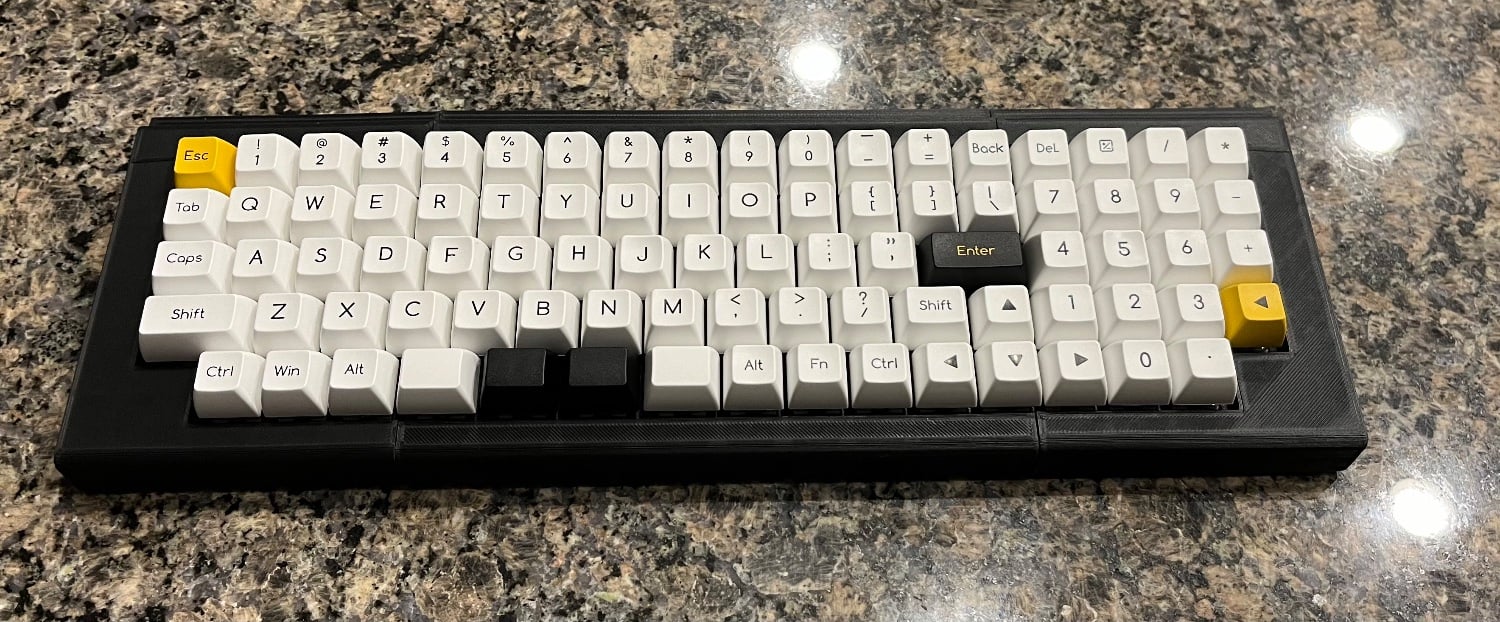
I think a big thing is that good prebuilts are now readily available: hot swap, foam layers, PCB stabilizers, CNC aluminum cases, a mounting system more sophisticated than tray mount, decent firmware (often properly released QMK/VIA, but at least VIA), and fun features like lighting or encoders. A late as 2022, this would have been a wish list on an interest check for a $400+ kit; now it’s a baseline to charge three digits for a prebuilt MX board.
There are still many group buys going on at the high end (geek hack basically exists as an IC/GB publishing platform at this point), and a lot of boards are available bare bones, but when a newbie comes along for a recommendation, no one has to feel bad recommending some pre-built that would make a Pok3r look like a joke as a value proposition.